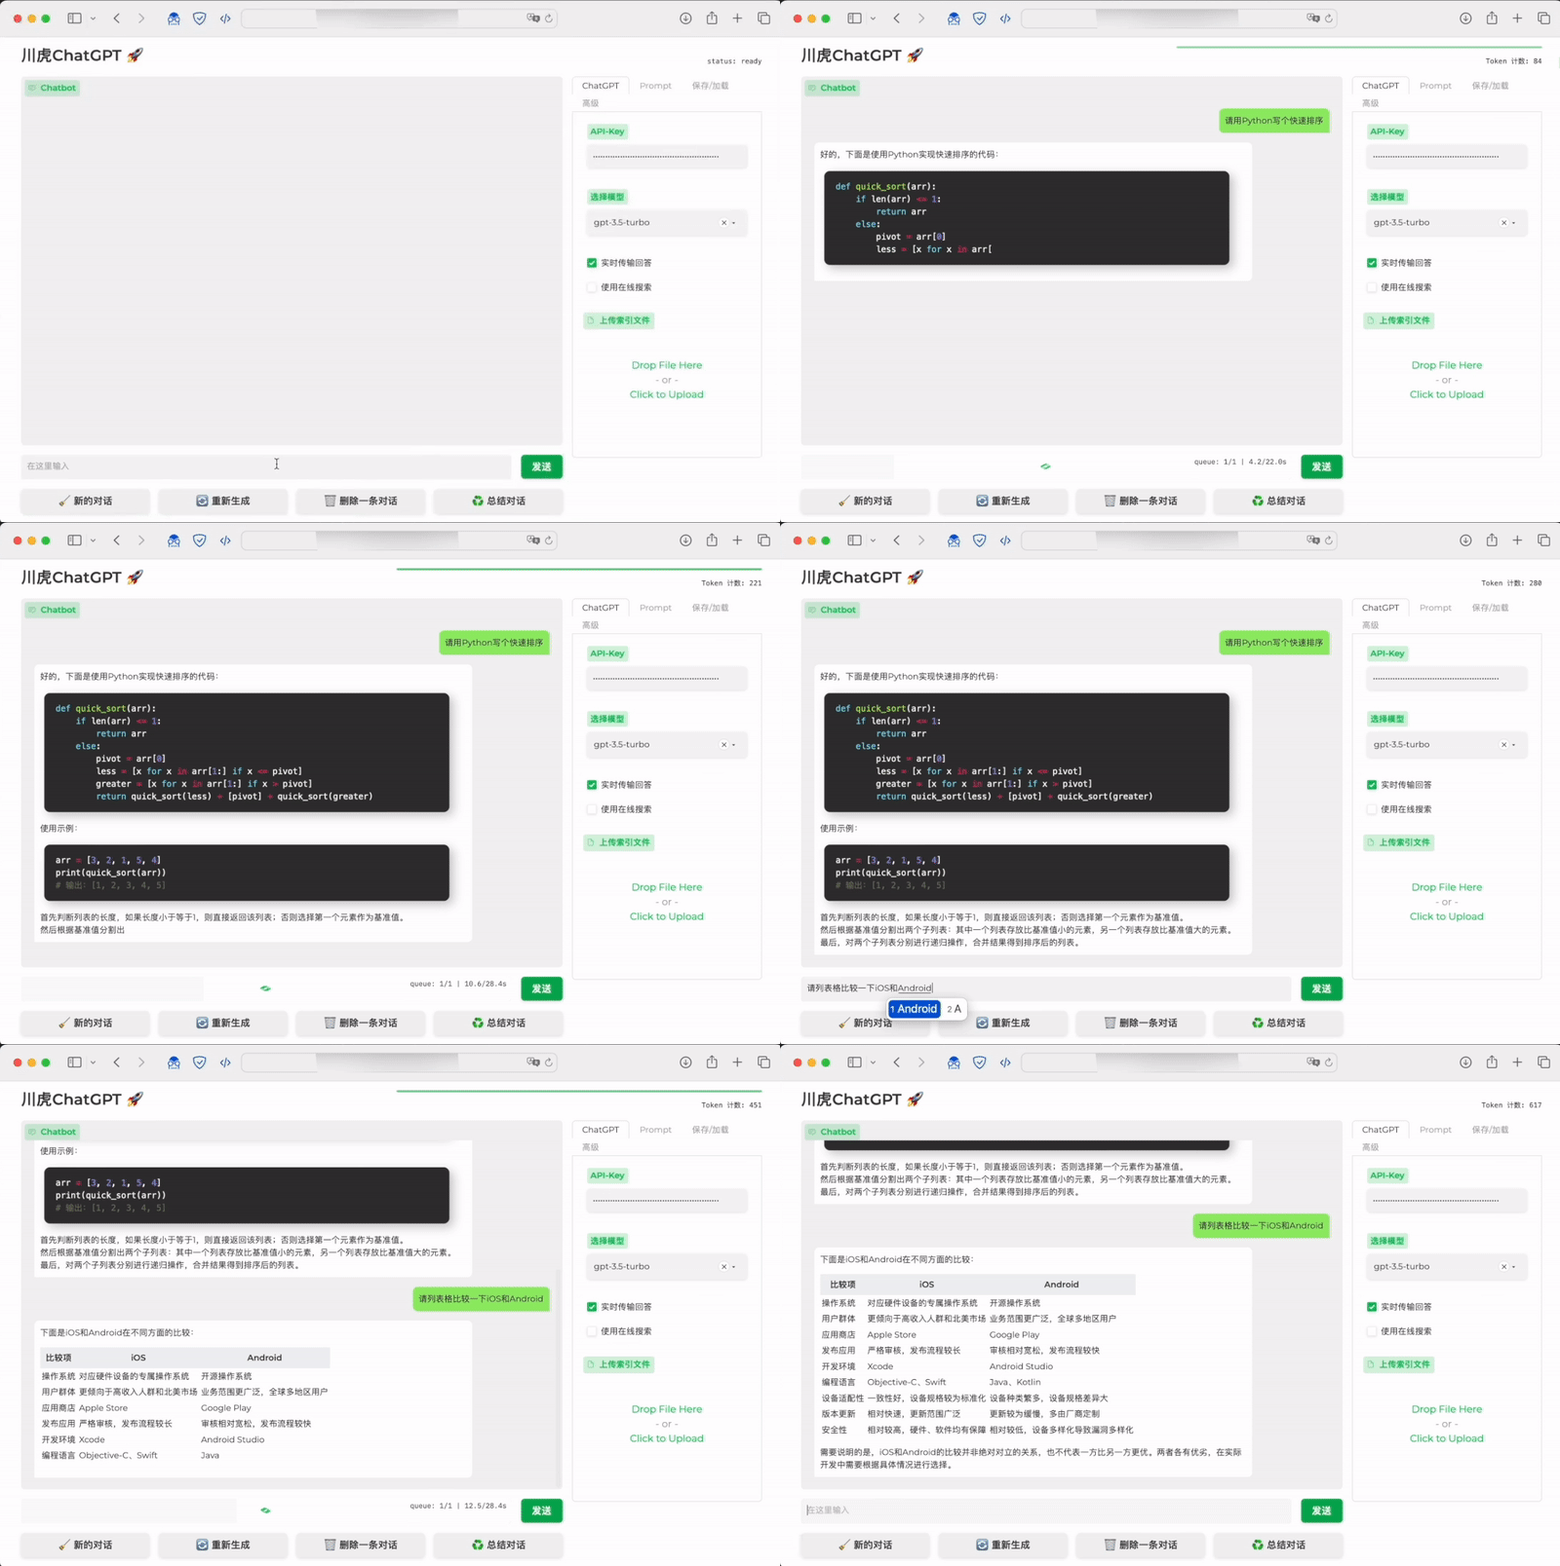
想搭建一套可以在国内访问的ChatGPT聊天系统,经过查找发现了这个川虎的ChatGPT Web 程序,发现这个界面挺好看,功能也多,就拿来在本地搭建了一下,下面说说我的搭建过程和碰到的问题。

环境准备
Python 3.9.5
macOS
作者提供了源码安装和docker安装,由于我本地没装docker,我这里采用的是源码安装。
1、下载本项目
下载地址:看最后
cd ChuanhuChatGPT #切换到项目地址
2、安装依赖
在终端中输入下面的命令,然后回车。
pip install -r requirements.txt如果报错,试试
pip3 install -r requirements.txt3、启动
请使用下面的命令。
python ChuanhuChatbot.py如果报错,试试
python3 ChuanhuChatbot.py如果一切顺利,你应该在浏览器地址栏中输入 http://localhost:7860 就可以查看并使用 ChuanhuChatGPT 了。
如果,看准了是如果,那么往往是顺利不了的。
我的第一个报错
error: command ‘/usr/bin/clang’ failed with exit code 1
[end of output]
note: This error originates from a subprocess, and is likely not a problem with pip.
ERROR: Failed building wheel for greenlet
Running setup.py clean for greenlet
Failed to build greenlet
ERROR: Could not build wheels for greenlet, which is required to install pyproject.toml-based projects

仔细看错误,greenlet构建轮子失败,那么竟然失败,我们就尝试安装这个 wheel。
按照网上的操作,我这里怎么都安装不好,主要原因是 python 和 wheel的版本不匹配。竟然不匹配,那么就找匹配的就完事了,直接手动安装
版本下载地址:http://pypi.doubanio.com/simple/greenlet
cp 后面的数字表示 python 的版本 cp39 代表 python3.9
我下载的版本是:greenlet-1.0.0-cp39-cp39-macosx_10_14_x86_64.whl。
然后执行, pip3 install greenlet-1.0.0-cp39-cp39-macosx_10_14_x86_64.whl
大功告成。
第二个错误
MAC报错:xcode-select: error: command line tools are already installed, use “Software Update” to instal
我这里碰到的是,多个版本的MacOSX.sdk的问题。
解决方案打开终端,执行以下命令,看看是否有多个
sudo open /Library/Developer/CommandLineTools/SDKs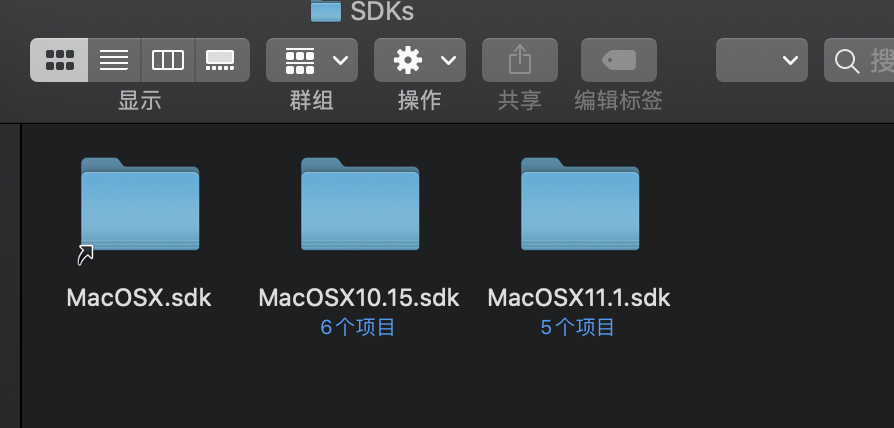
删除旧的,只保留一个,可惜这样还是没解决,最后来了一个最暴力的,删除重新安装。
sudo rm -rf /Library/Developer/CommandLineTools
xcode-select --install
大功告成
第三个错误
Reloading javascript…
Traceback (most recent call last):
File “/web/webroot/chatgpt/chuanhuchatgpt/ChuanhuChatbot.py”, line 428, in <module>
demo.queue(concurrency_count=CONCURRENT_COUNT).launch(
File “/usr/local/lib/python3.9/site-packages/gradio/blocks.py”, line 1763, in launch
raise ValueError(
ValueError: When localhost is not accessible, a shareable link must be created. Please set share=True.

看到这个错误有点懵,还好仔细看看报错内容,还是能理解的,作者也给出了解释。
如果需要在公网服务器部署本项目
将最后一句修改为
demo.queue().launch(server_name="0.0.0.0", server_port=7860, share=False) # 可自定义端口用账号密码保护页面
将最后一句修改为
demo.queue().launch(server_name="0.0.0.0", server_port=7860,auth=("在这里填写用户名", "在这里填写密码")) # 可设置用户名与密码我现在是在本地部署,那么把 share设置为true即可。
打开文件,/web/webroot/chatgpt/chuanhuchatgpt/ChuanhuChatbot.py 把作者注释掉的打开即可。

再次执行,本地已经可以打开。
不过这样是没办法请求到chatgpt的接口的,需要配置代理,我本地没配置,所以也就不演示了,想配置的,可以通过下面的地址,看看作者的说明。
项目下载地址


